Using the BlueID Lock Admin App
BlueID Access: Using the BlueID Lock Admin App
Overview
Our BlueID Lock Admin App has some basic support for all BlueID Access commands and response codes, which we describe in the following.
For basic instructions refer to BlueID Lock Admin App.
Handling the User Access Log
Prerequisites
First, create a BlueID Token for your Secured Object and your Mobile Device containing the commands gual and cual and synchronize your BlueID SDK App afterwards. After this, the view presented in the app should look similar to this:
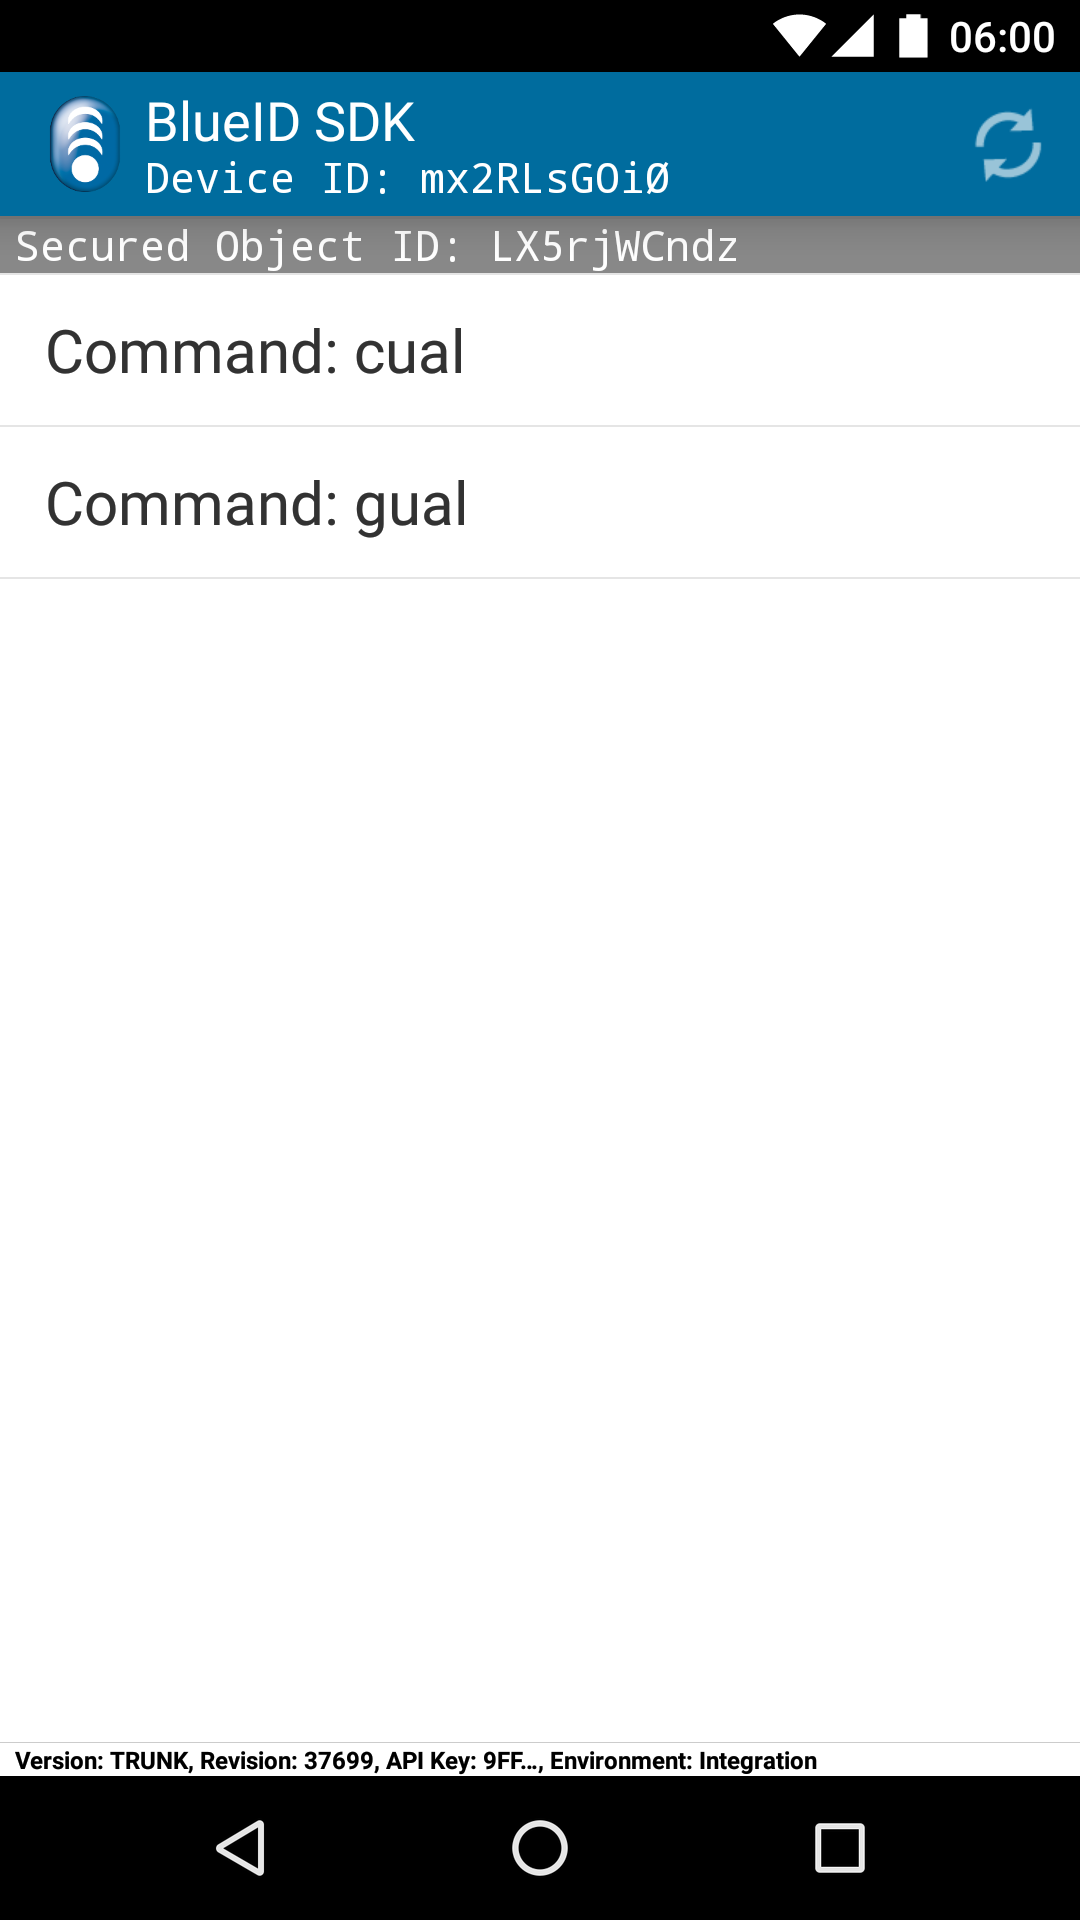
As you already know, gual fetches the User Access Log from the secured object and cual deletes it on the secured object.
Getting the User Access Log
First, we use gual. The User Access Log gets transferred to the Mobile Device and is presented in the BlueID SDK App:
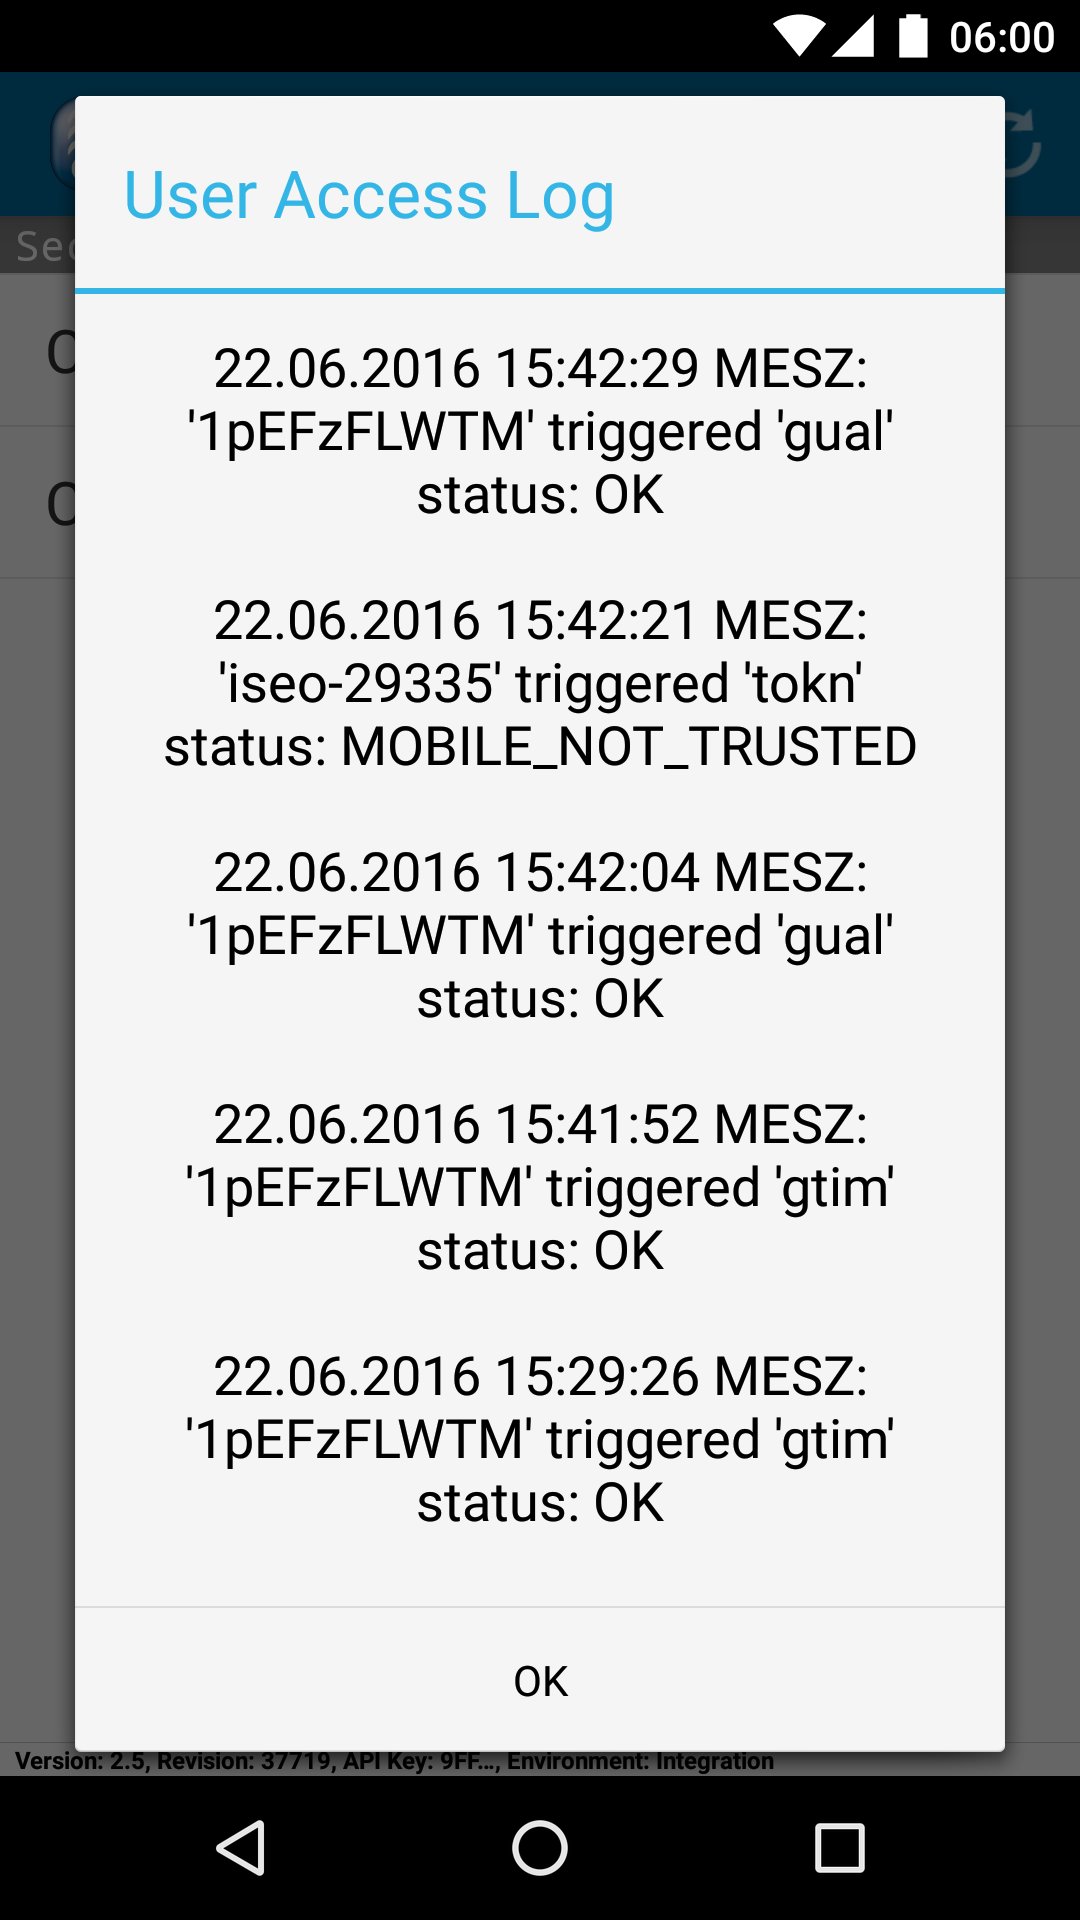
In this example, there were already a lot of accesses to the Secured Object. It's obviously an ISEO Zero1, as you can see in the second entry which tells us that there was an attempt to access the secured object with an ISEO User Card with number 29335. Instead of "ok", the status for this entry shows "MOBILE_NOT_TRUSTED" because the card was not on the device's whitelist.
Clearing the User Access Log
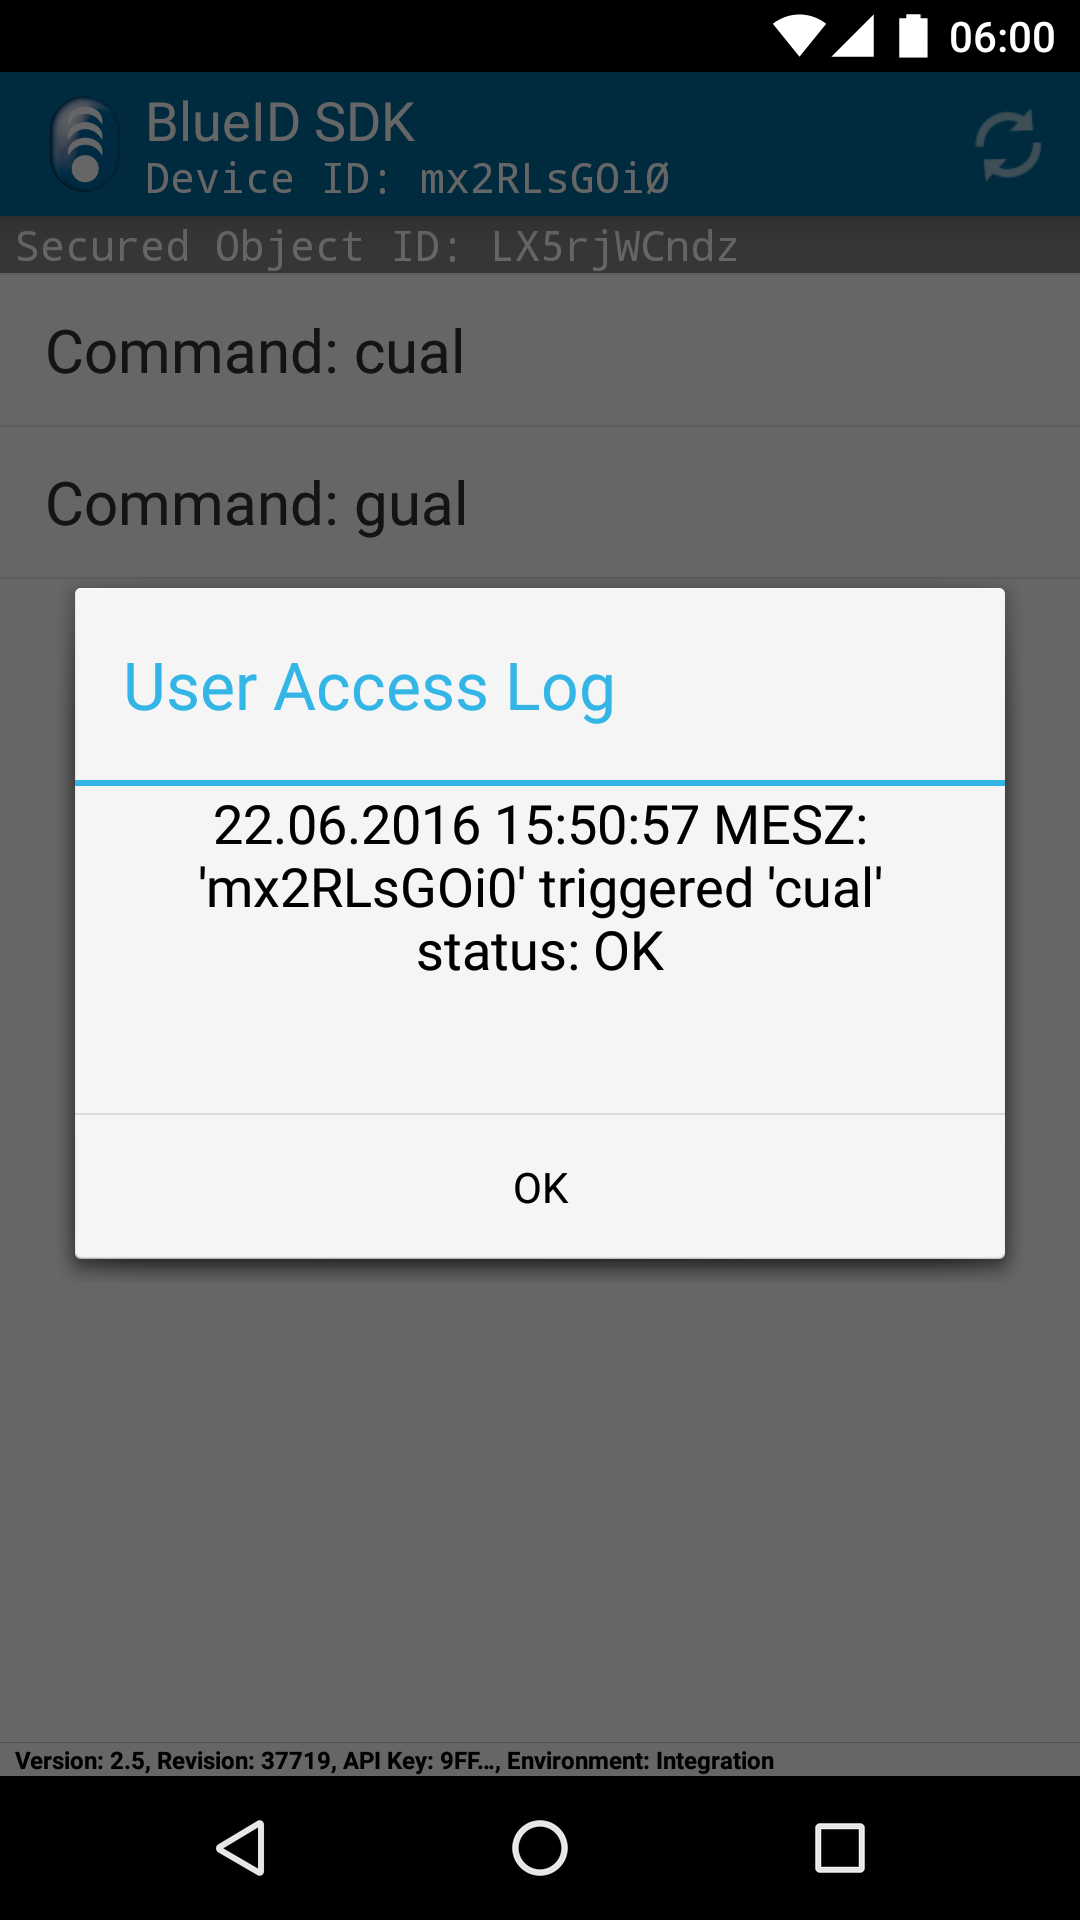
Now let's clean up the log! After sending command cual and then gual again, we only see that command in the log:
Setting and getting the time
Prerequisites
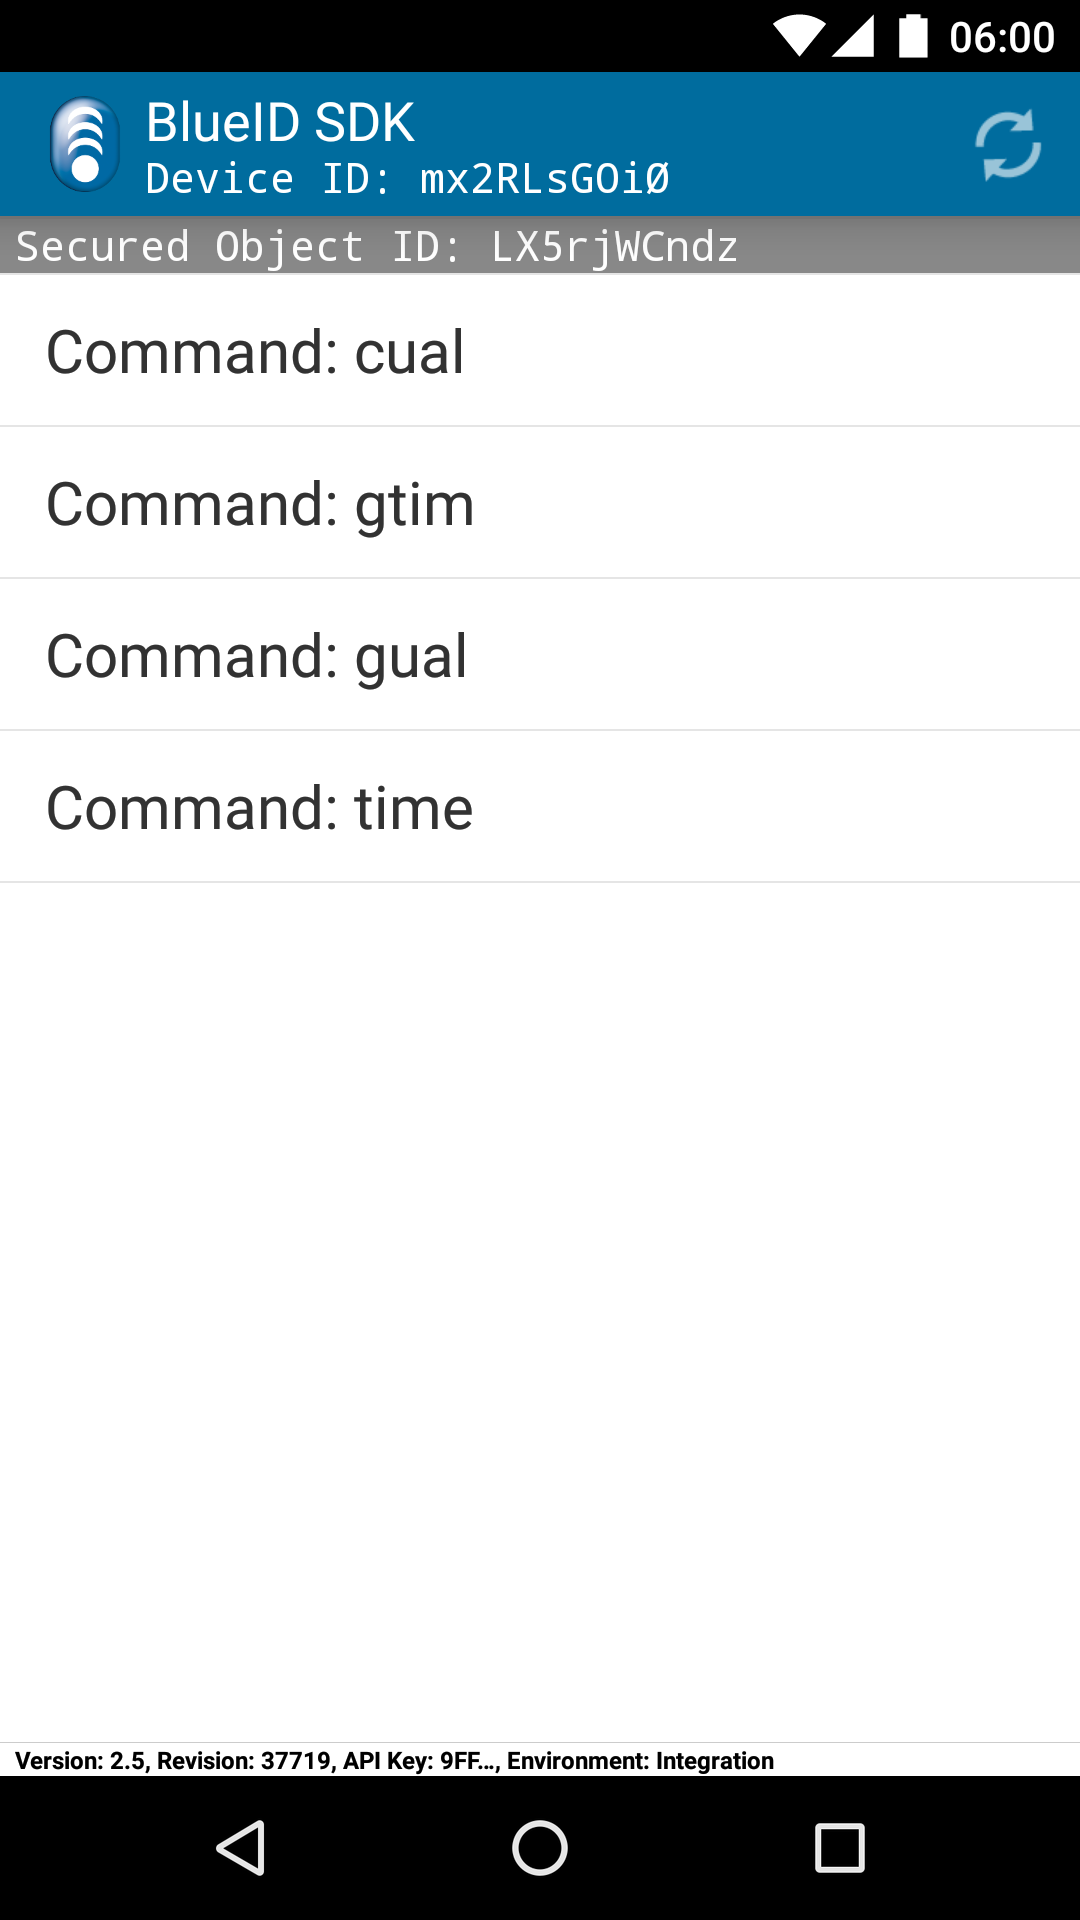
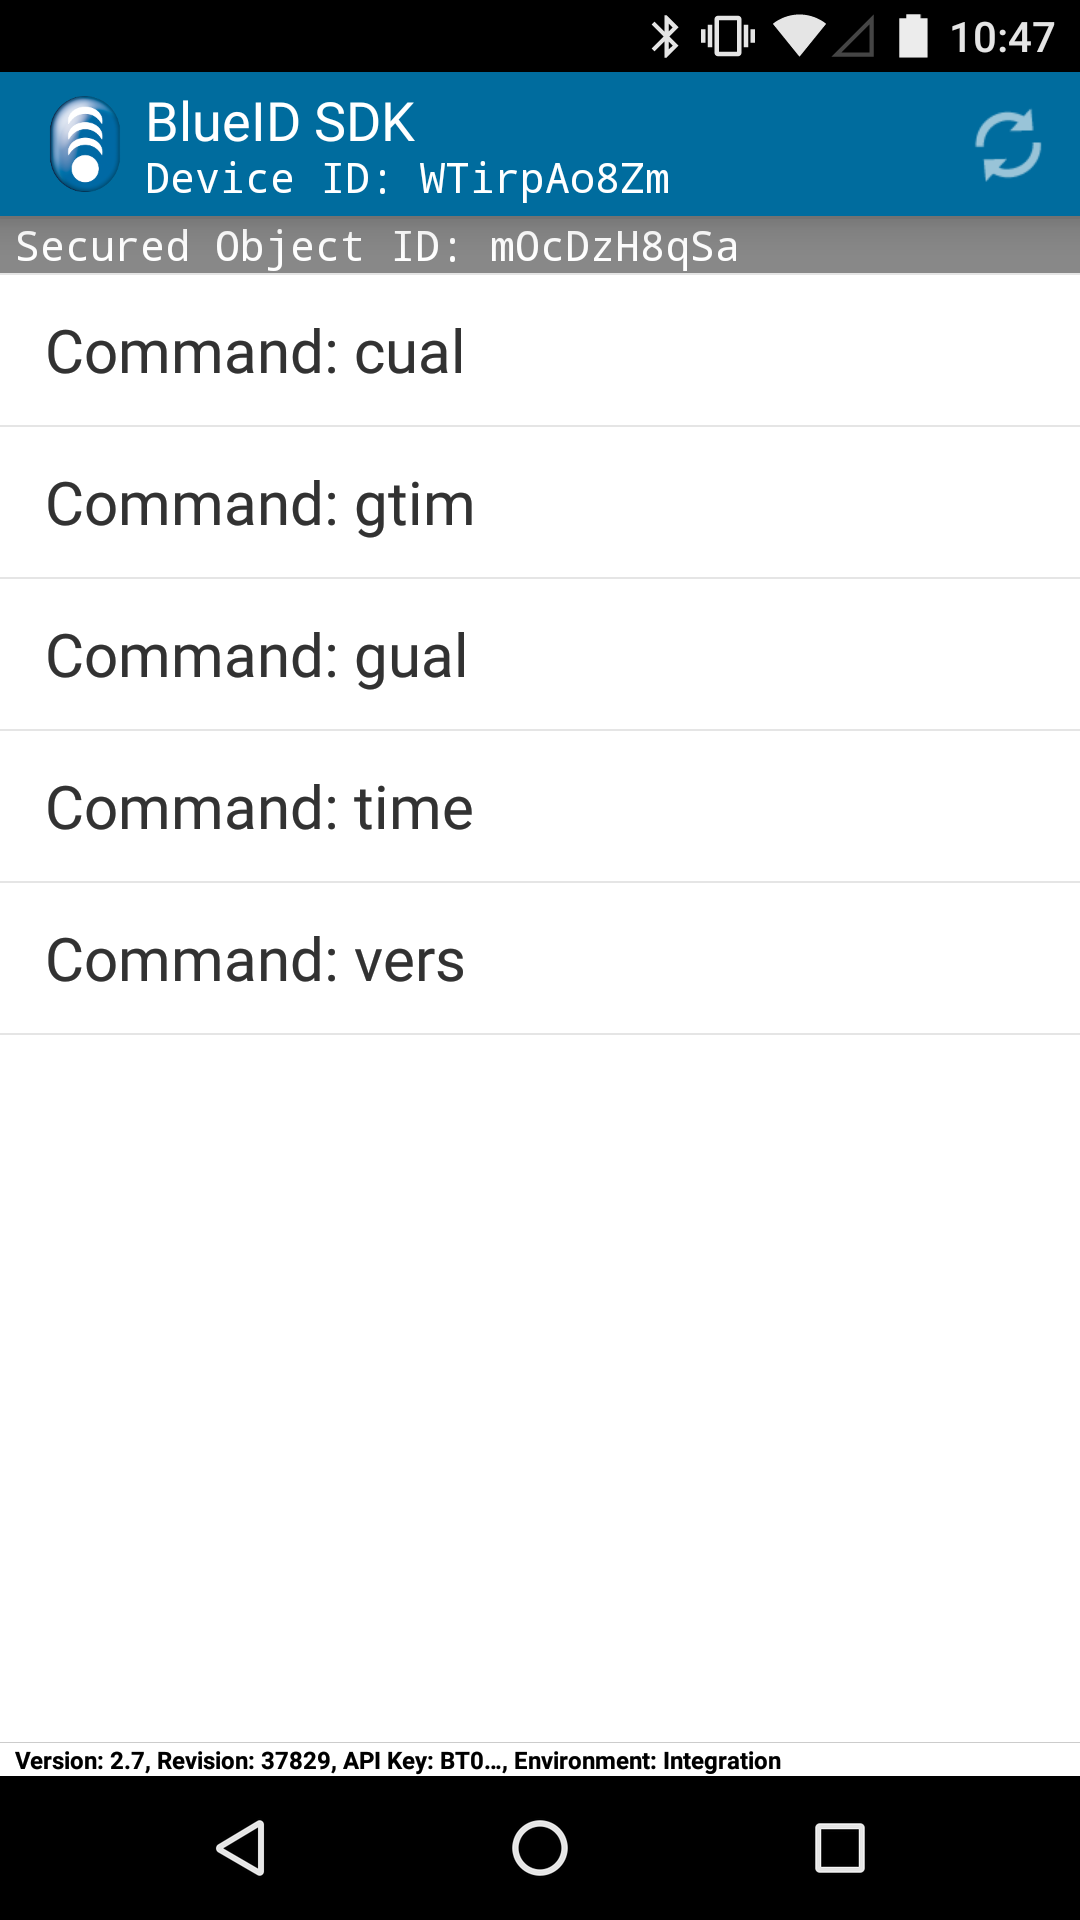
For this section, please create a BlueID Token containing the commands time and gtim and synchronize your BlueID SDK App afterwards. If you followed this tutorial closely, you should now have at least 4 commands on the list in your BlueID SDK App:
Set time on Secured Object
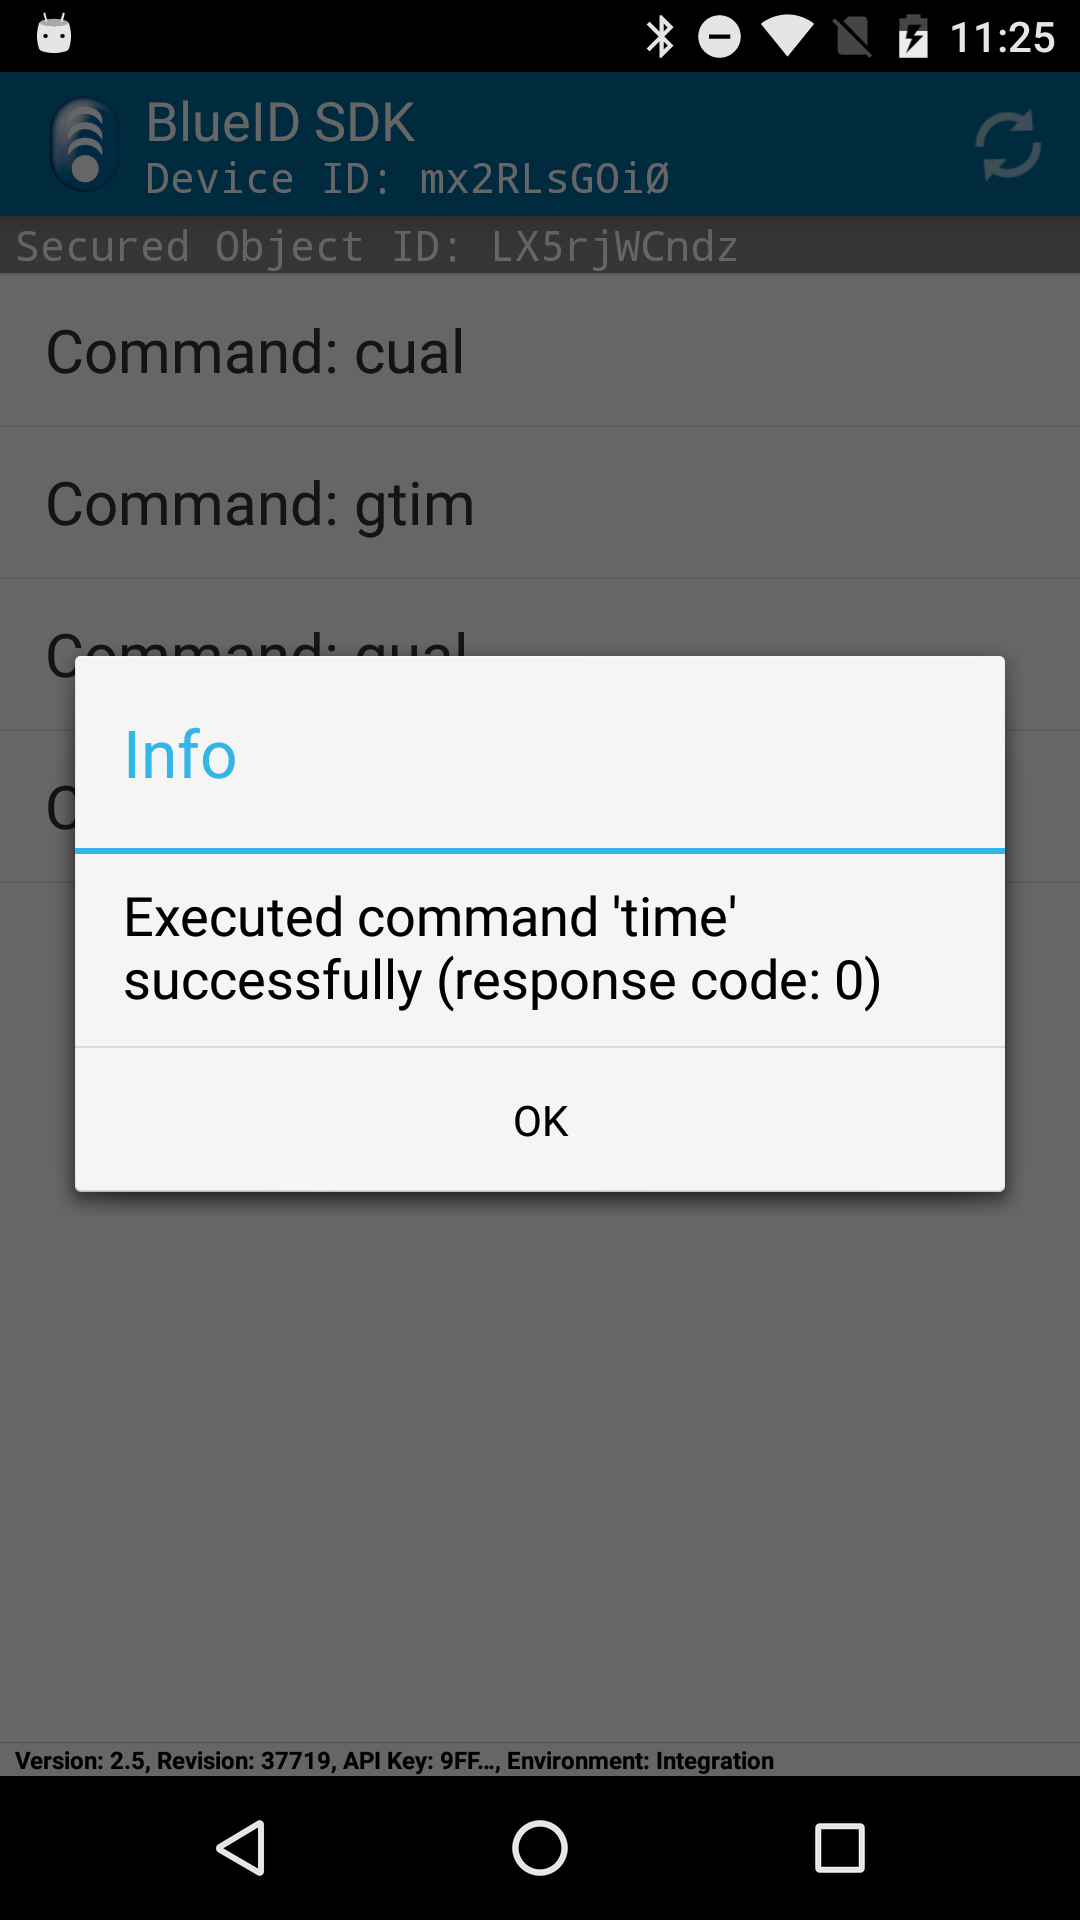
Setting the time is pretty easy as you've already seen, because it's all handled in the BlueID SDK itself. You only have to trigger the command time. There's no special response from the Secured Object, just response code 0 if all went fine:
Getting the time
But now we want to know if the time was really set to the time of the Mobile Device. We can do this by sending the command gtim. Here's the result:
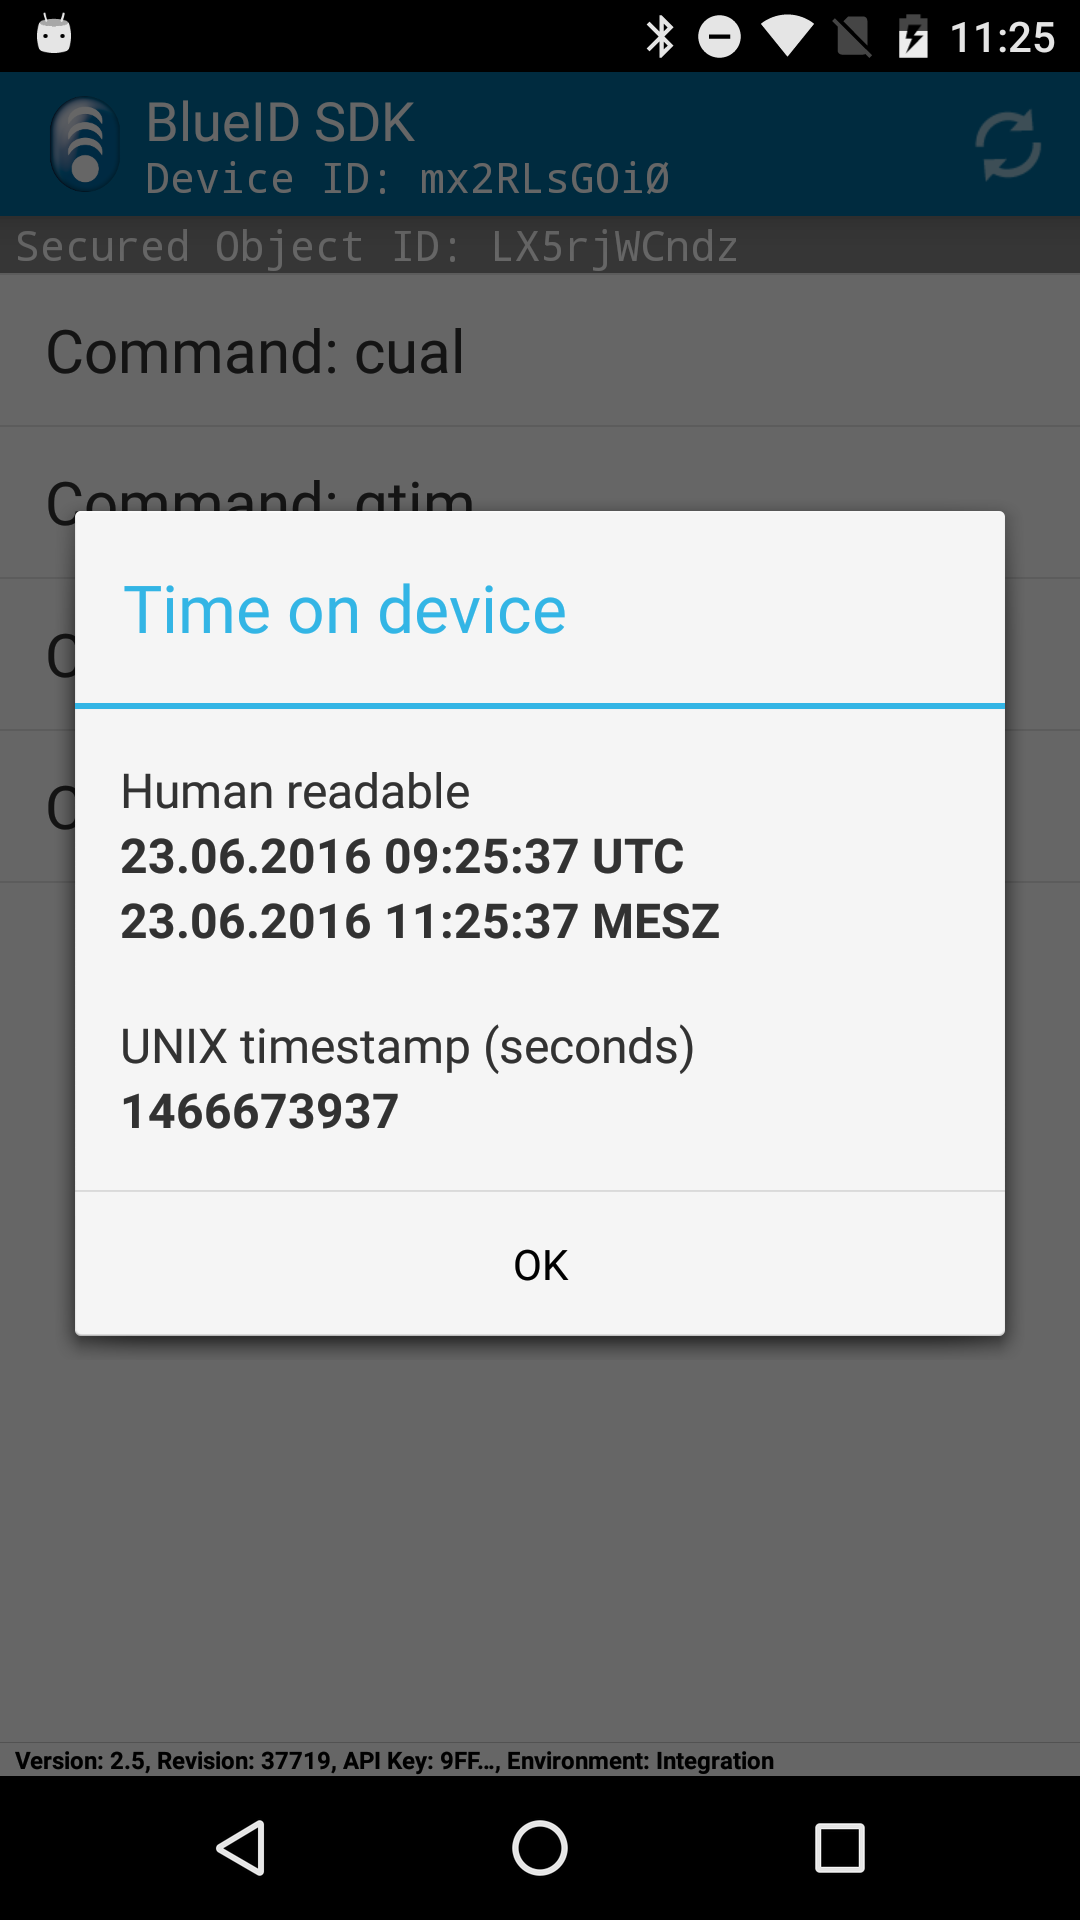
The upper entry presents the time in a human readable format (for you!), first in timezone UTC and then in the timezone configured on your Mobile Device.
The lower entry instead shows a UNIX timestamp, which means the number of seconds since 1/1/1970.
Getting the version
Prerequisites
For this section, please create a BlueID Token containing the command vers and synchronize your BlueID SDK App afterwards. If you followed this tutorial closely, you should now have at least 5 commands on the list in your BlueID SDK App:
Getting the version
Now we execute the new command vers to find out which version of the BlueID SDK is running on the Secured Object. Here's the result:
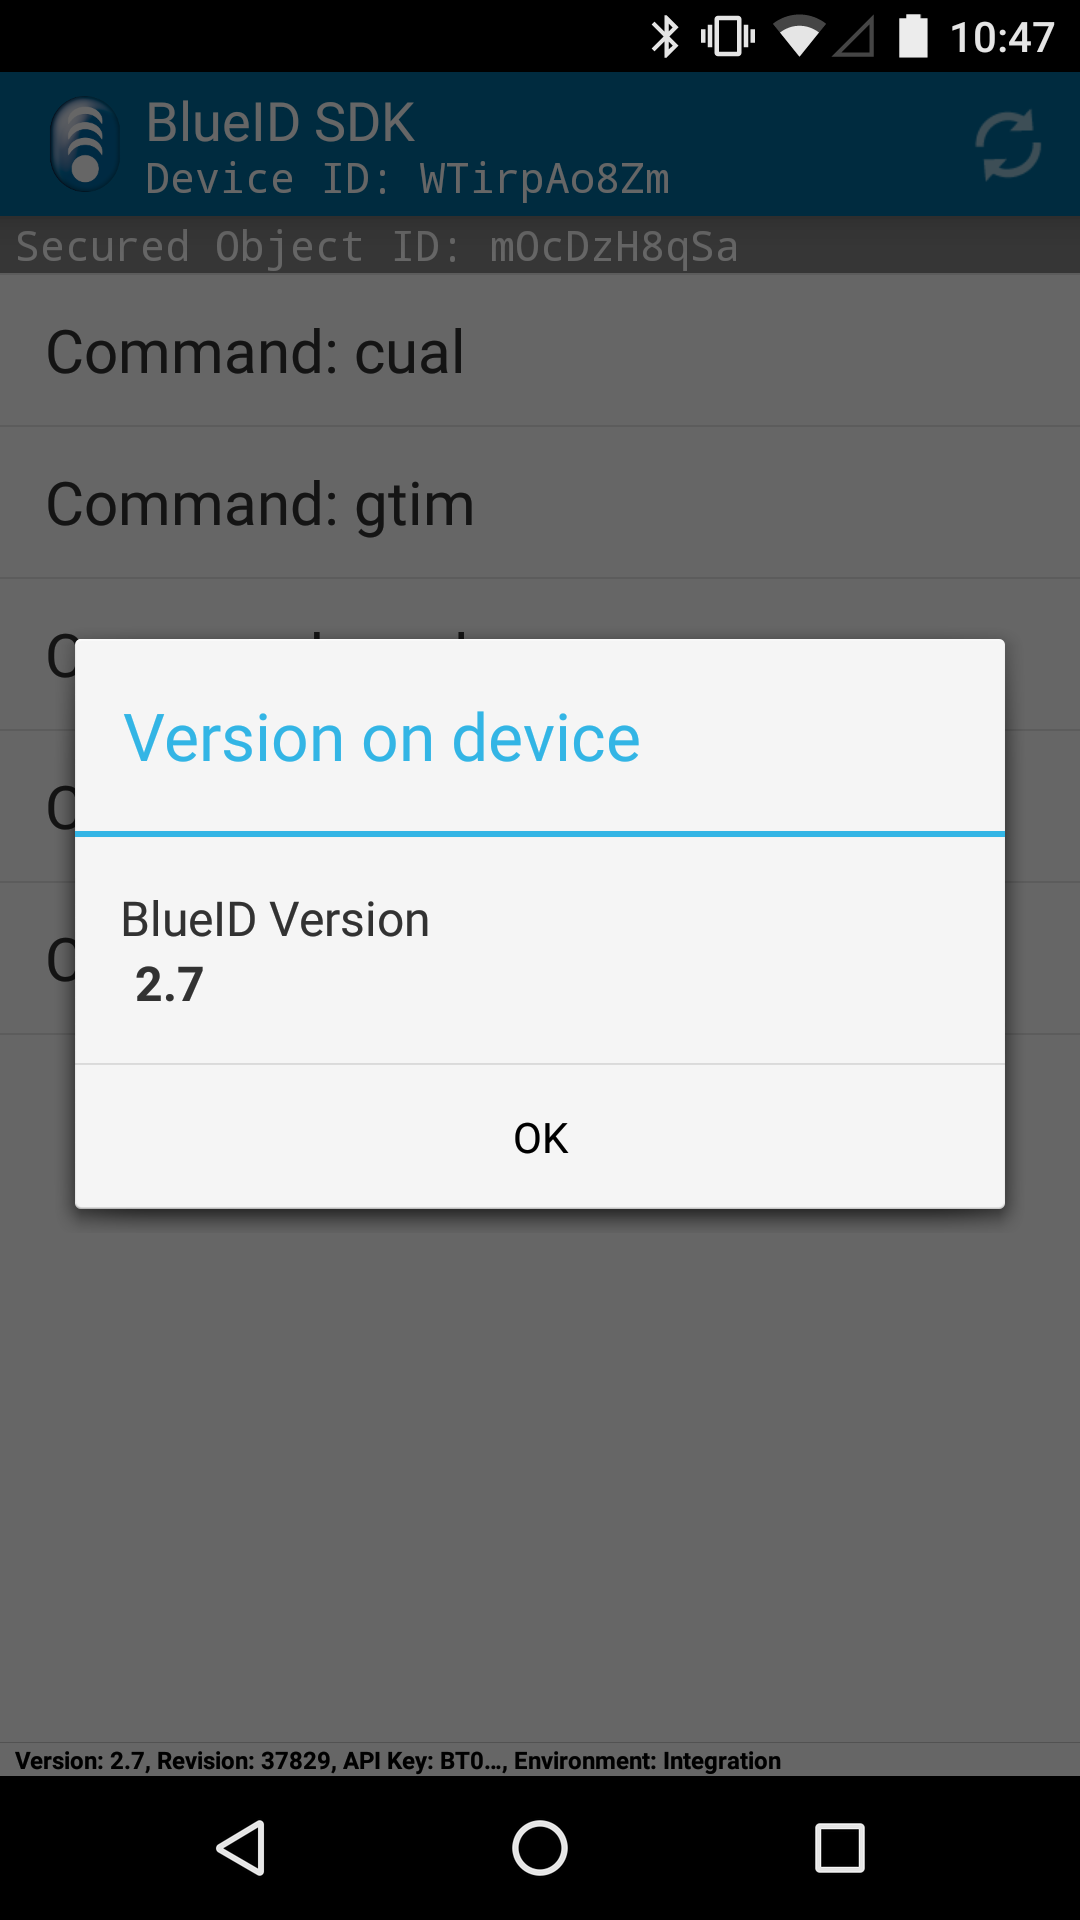
As you can see in this example the Secured Object runs on BlueID SDK 2.7.
ISEO Zero1: Add and remove ISEO User Cards
Additionally to the standard set of BlueID Access commands, the ISEO Zero1 products support the ISEO User Cards with some product specific BlueID commands.
Important: ISEO User Cards are not related to the NFC cards which you can manage via the BlueID Operator API!
Prerequisites
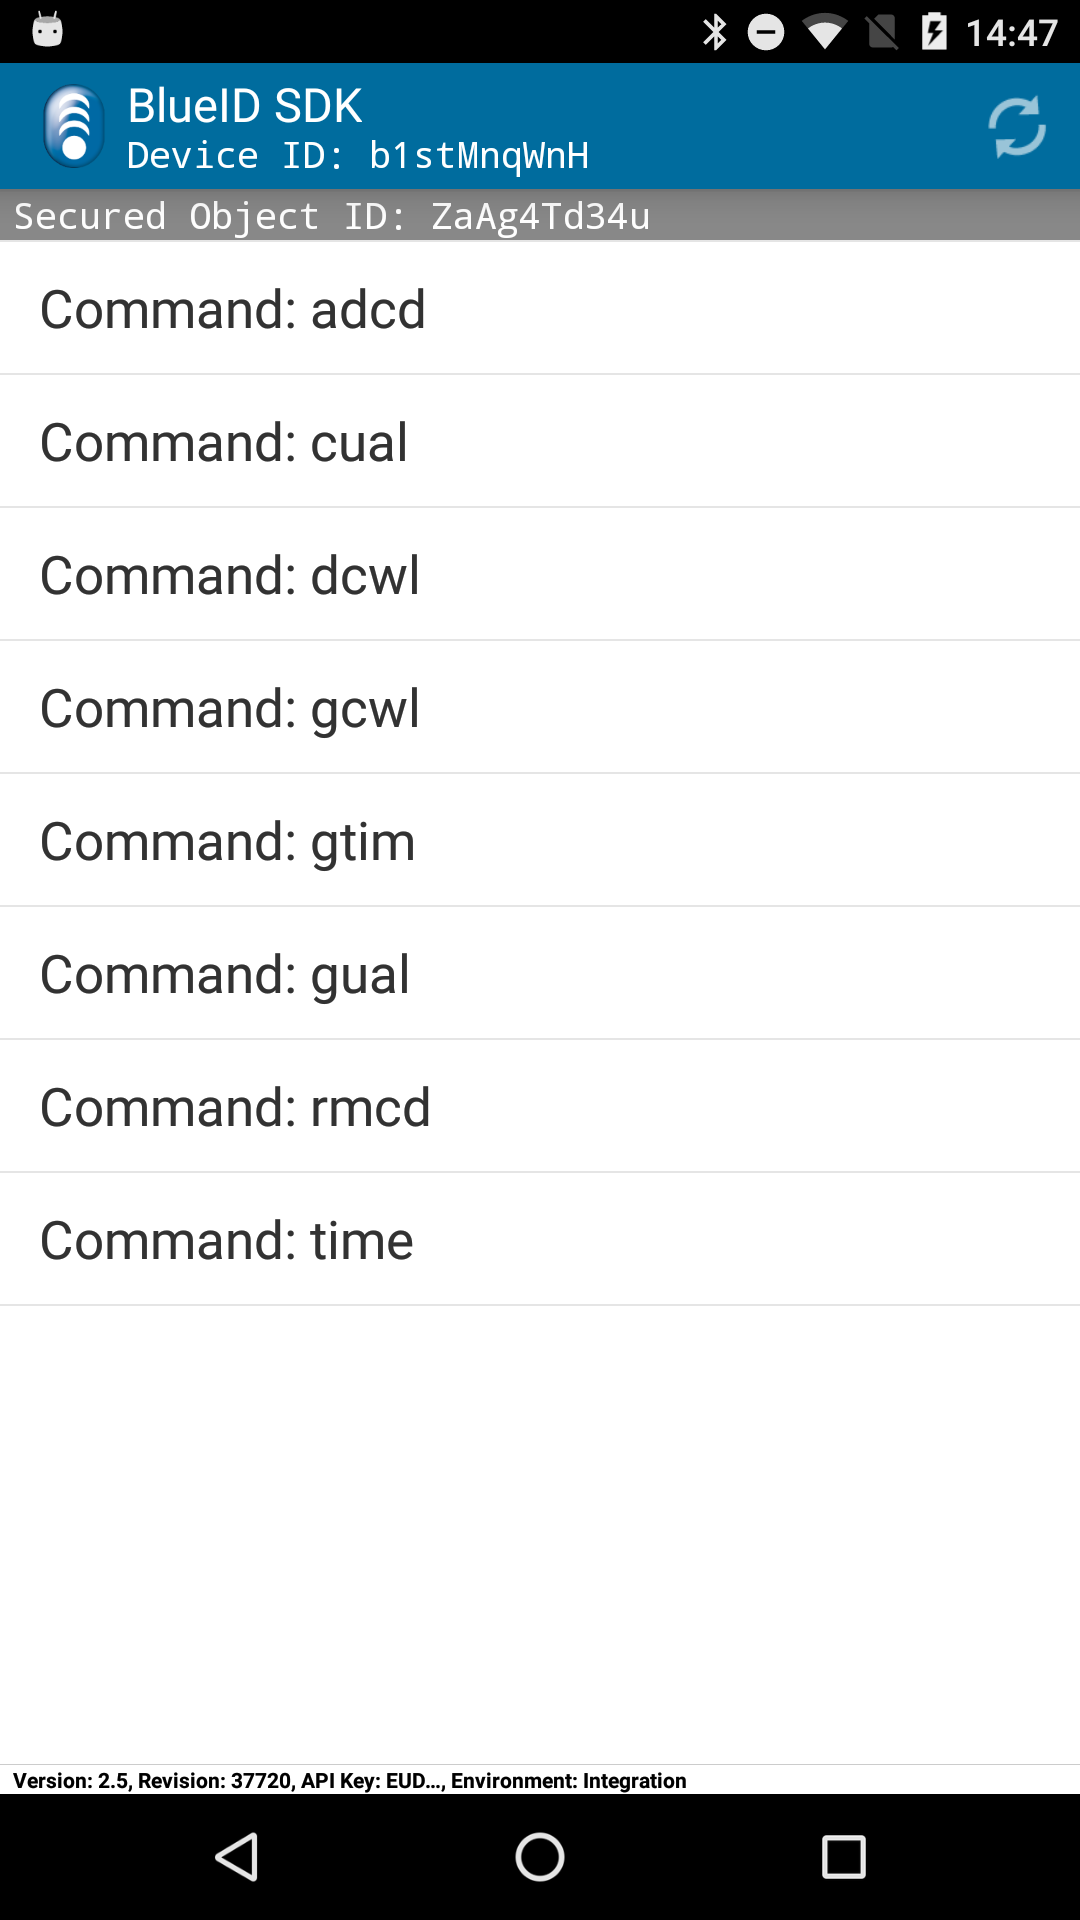
Please create a BlueID Token that contains the commands adcd, rmcd, gcwl and dcwl. After synchronizing the BlueID SDK App, you should see these additional commands in your list:
Adding a card
Once you activate adcd, a popup is shown where you enter the ISEO User Card Number you want to add to the whitelist:
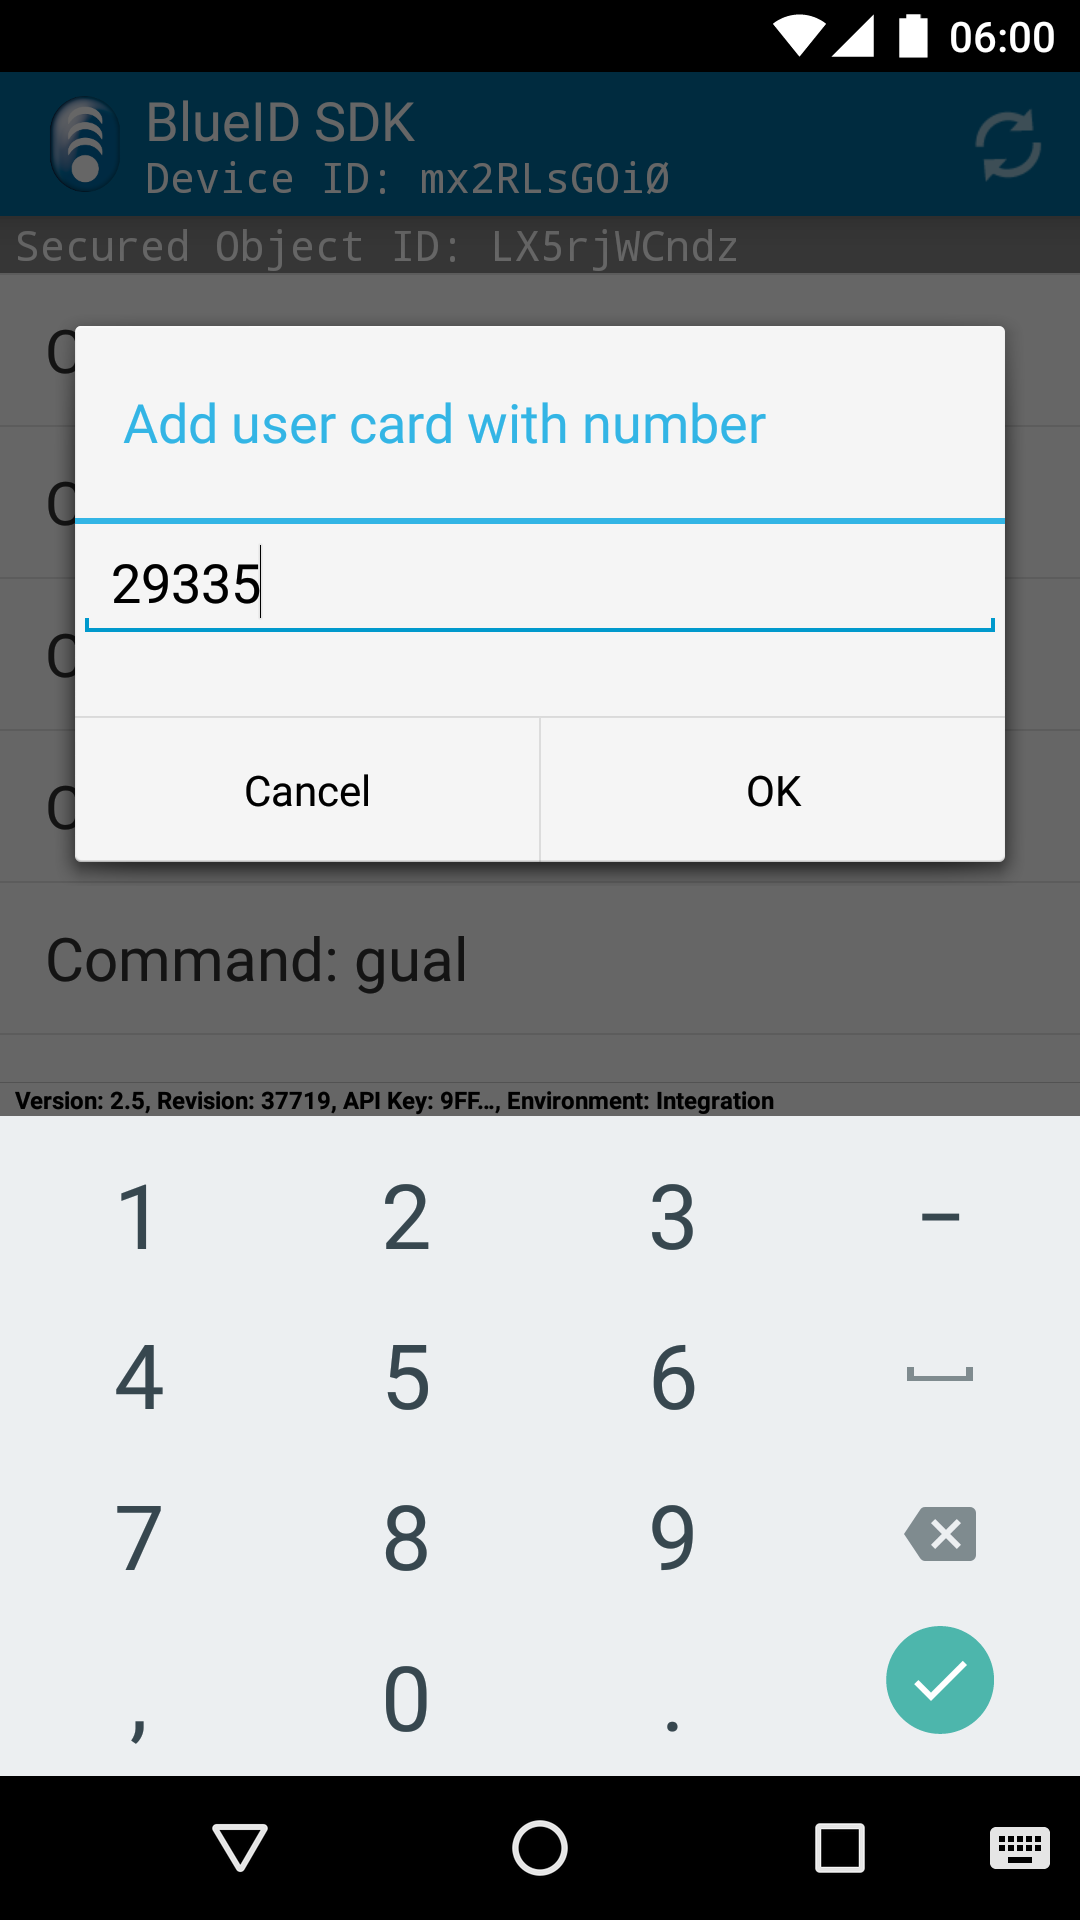
By clicking "OK", the number is sent to the ISEO Zero1 which in turn adds this specific card to its whitelist. After the command was sent successfully, you can trigger the lock by holding the given card next to the lock.
Removing a card
The way to remove a card from the whitelist is analog to the way to add it. When you activate the command rmcd, a popup appears that asks you for the number of the card to remove:
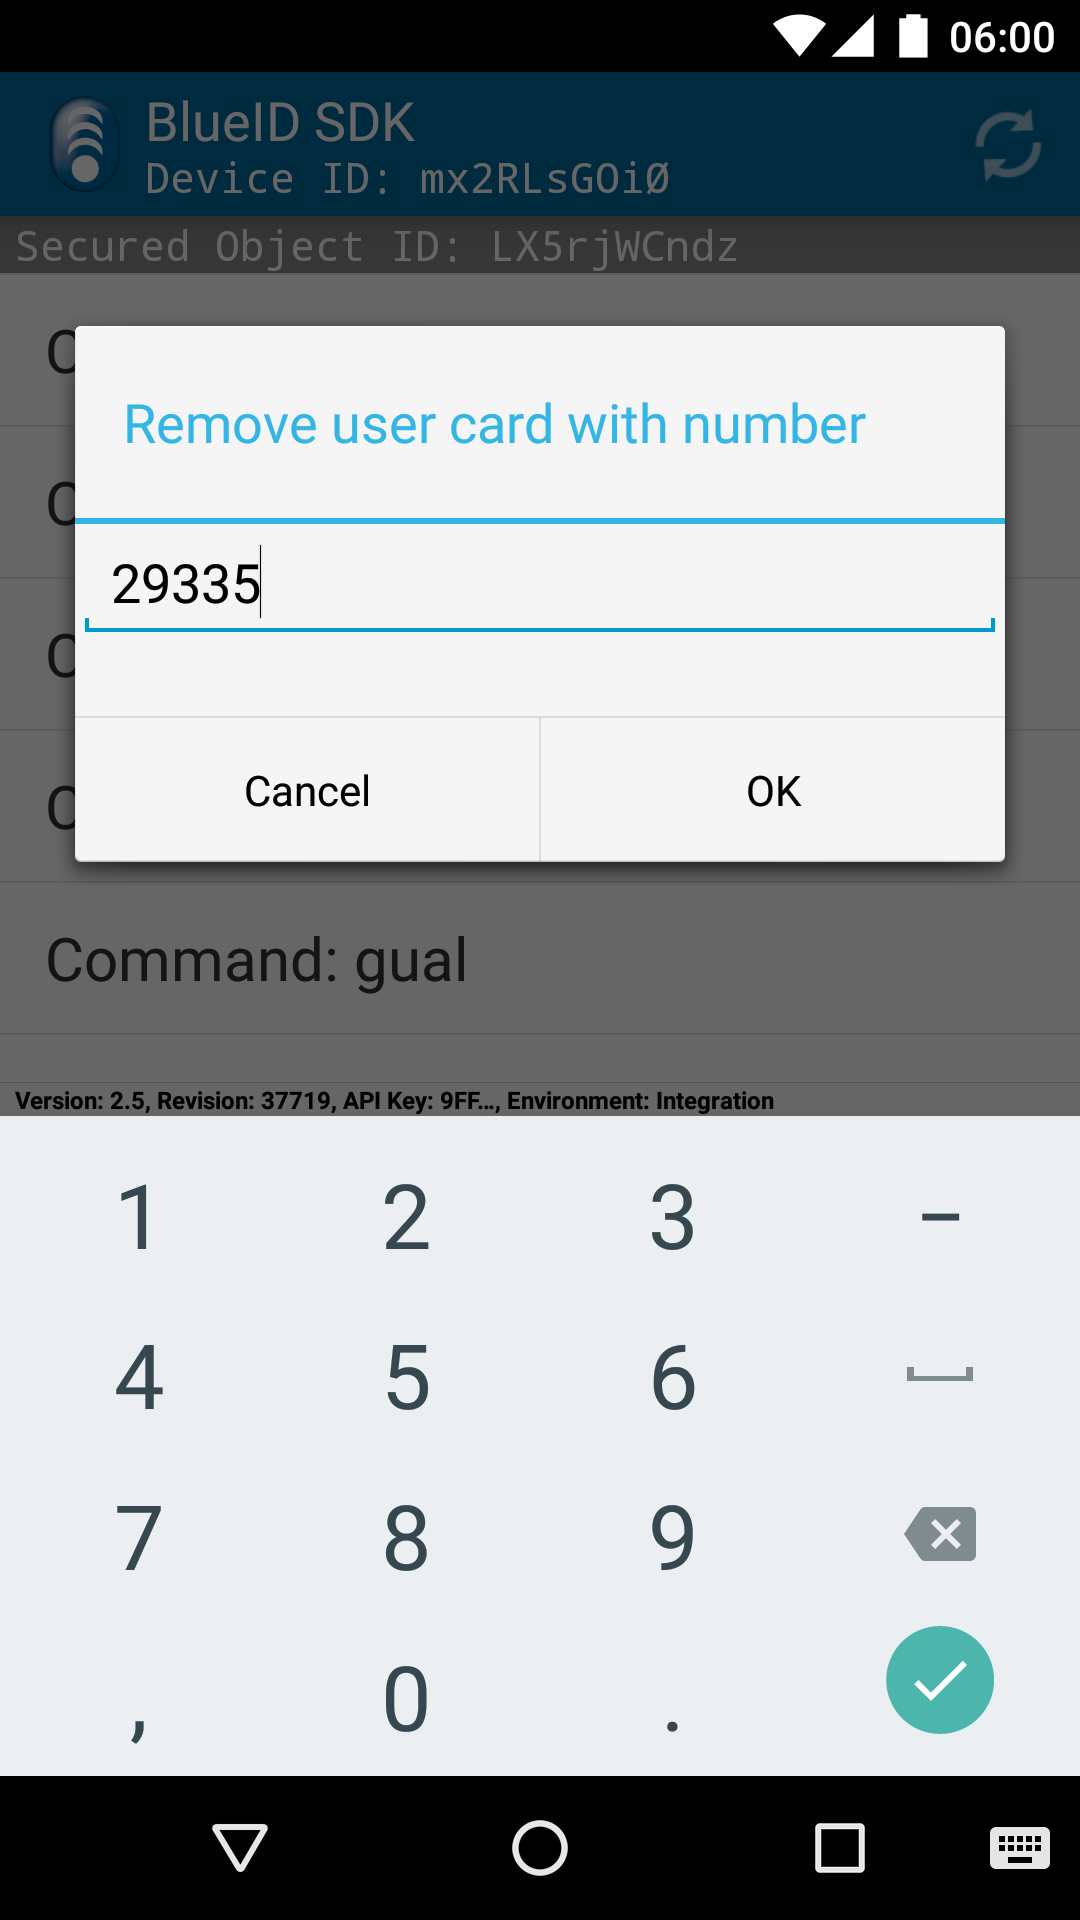
When you confirm your input by clicking "OK", the number is sent to the ISEO Zero1 which then removes that card from the whitelist. After the command was sent successfully, you are not able to use the lock with that card anymore.
Getting the whitelist
First, we use the gcwl command. The whitelist gets transferred to the Mobile Device and is presented in the BlueID SDK App:
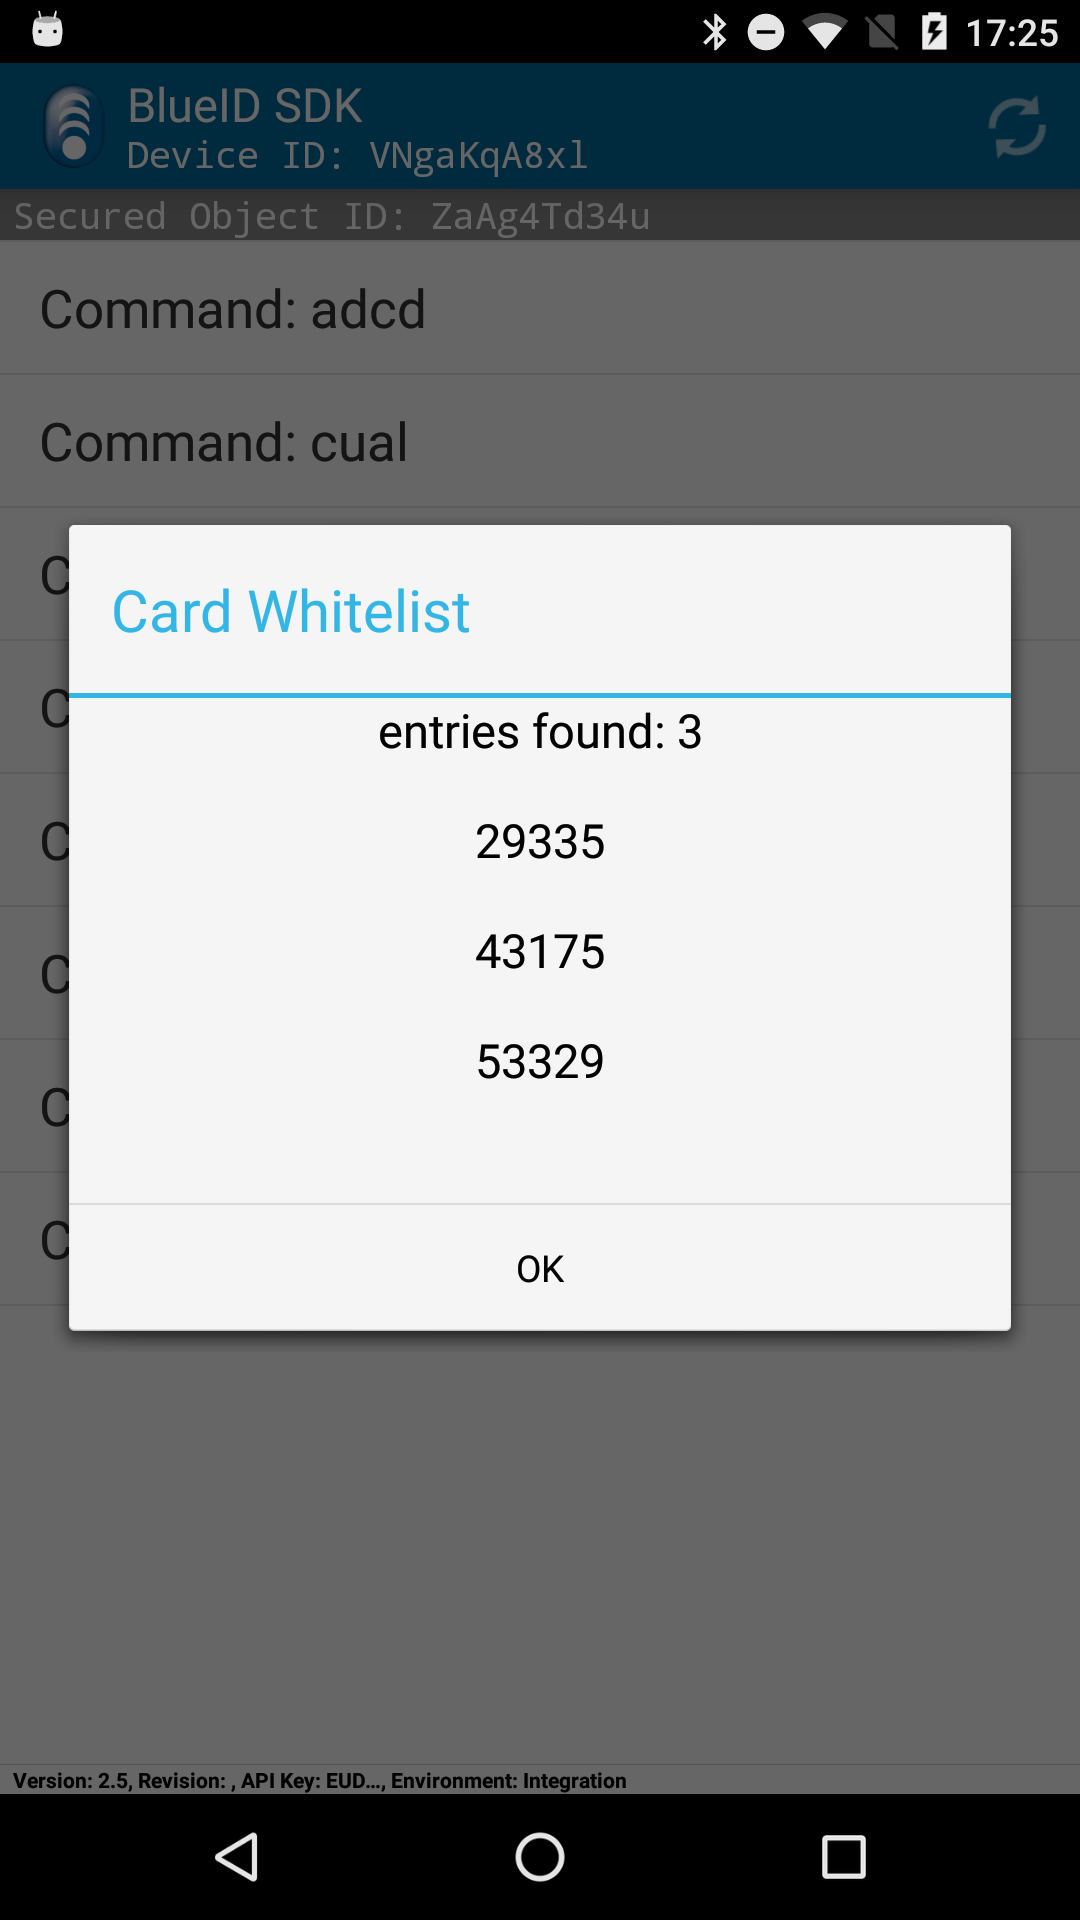
In this example, there are 3 cards on the whitelist. The ISEO User Cards with these numbers can trigger the lock by holding one of them next to the lock.
Clearing the whitelist
It may happen that you want to remove all cards from the whitelist, e.g. when you want to use the ISEO Zero1 in another door. For that case, you can trigger the command dcwl, which removes all stored cards from the whitelist.